How to Save Money on Wedding Invitations Without Making Them Look Cheap
TLDR
The most reliable way to learn how to save money on wedding invitations is to price the complete mailed suite, not just the main card. Count invitations by mailing household, use a standard rectangular envelope, reduce unnecessary inserts, choose one meaningful upgrade, proof everything carefully, and determine postage from a fully assembled invitation.
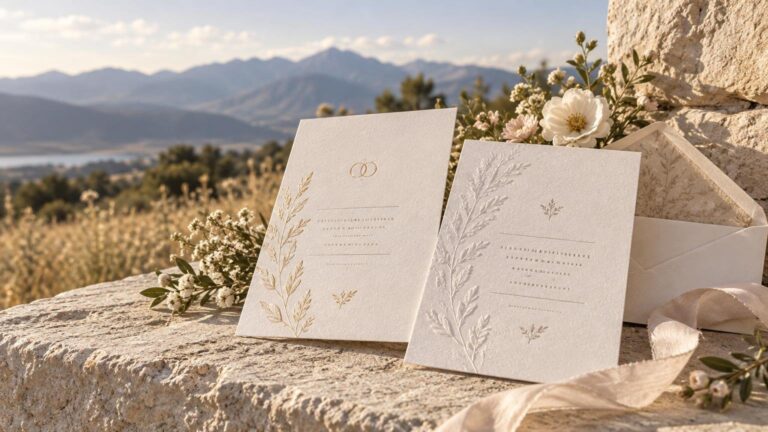
An inexpensive invitation does not have to look cheap. A simple card with strong typography, balanced spacing, coordinated envelopes, and one intentional paper or design choice can look more polished than a crowded suite filled with upgrades. The goal is not to remove every special detail; it is to spend on the details people will actually notice.
Build the budget around each mailed household
Guest count is not the same as invitation quantity. A couple, family, or household typically receives one mailed invitation, while guests living at separate addresses need separate envelopes. Start with your address list and count the actual mailing units before requesting a printing estimate.
This distinction can produce meaningful savings, especially for a large reception or open house. It also prevents the opposite problem: ordering based on an estimated household count and discovering too late that adult children, roommates, or relatives at separate addresses need their own invitations.
Create a per-household budget that includes every physical and mailing component:
- Main invitation card
- Details, reception, or RSVP inserts
- Outer and reply envelopes
- Return and guest addressing
- Envelope liners, bands, seals, ribbon, or other finishing pieces
- Assembly supplies or paid assembly
- Postage for the completed outgoing envelope
- Return postage if using mailed RSVP cards
- A deliberate reserve for corrections, late additions, and keepsakes
Comparing vendors only by the advertised card price can hide much of the final expense. Compare equivalent quantities and configurations, then include shipping, envelopes, proofs or samples, specialty finishes, and the work required to assemble the order.
How to save money on wedding invitations through size and shape
Choose the envelope before finalizing the card design. A standard rectangular format is usually the easiest starting point for printing, envelope sourcing, assembly, and mailing. It also gives you clear boundaries for the invitation and any inserts.
USPS describes letter-size mail as rectangular and lists dimensional limits of 3½ to 6⅛ inches high, 5 to 11½ inches long, and 0.007 to ¼ inch thick. Meeting those outer limits alone does not guarantee that a finished suite qualifies for ordinary machinable letter postage, but they provide a useful design framework. Review the official USPS letter-size guidance before committing to an unusual format.
Square and vertical envelopes, rigid pieces, uneven or lumpy contents, and some closure devices can make a mailpiece nonmachinable and may lead to additional postage. That does not mean you must avoid every distinctive format. It means the visual benefit should be worth the possible increase in envelope, production, and mailing costs.
Cut printed pieces before cutting print quality
One of the cleanest ways to reduce cost is to reduce the number of cards in each envelope. Keep the main invitation focused on the information guests need to recognize the event: who is getting married, what they are invited to attend, and when and where it will happen.
A wedding website can carry information that is useful but does not need to be printed for every household, including:
- Hotel and travel information
- Maps, parking instructions, and detailed directions
- Registry links
- Dress guidance that needs explanation
- Local recommendations for visiting guests
- An extended weekend schedule
- Frequently asked questions
- Updates that may change after invitations are mailed
Online RSVPs can also eliminate a reply card, reply envelope, and return stamp. Before choosing that route, consider the guest list rather than following a universal rule. A small number of guests who are less comfortable responding online can receive a phone number or another response option without requiring a printed reply set for everyone.
Utah weddings sometimes separate a ceremony, dinner, reception, and open house across different groups. In that situation, do not cram every event onto every invitation. Create concise versions for the groups who need different information, or place the shared basics on the card and direct recipients to a website for their applicable schedule.
Choose one premium detail instead of stacking upgrades
Specialty paper, foil, letterpress, envelope liners, belly bands, wax seals, layered cards, ribbons, and multiple inserts can each be attractive. The total rises quickly when several are added to the same suite. Choose the one feature that best supports the desired look and simplify the rest.
For example, use a substantial uncoated stock with standard ink instead of combining premium stock, foil, a liner, and a band. Alternatively, keep the paper and envelopes simple but use foil on the couple’s names. A minimal black-and-white design can also feel intentional when typography and spacing do the visual work.
A digital proof is useful for checking wording, hierarchy, line breaks, and layout. A physical sample is more useful when the decision depends on paper texture, weight, finish, or how color appears in print. PrintInvitations describes that distinction and states that its orders include a digital proof, with physical proofs or samples available for a fee.
Paying for a sample can be sensible when you are considering an expensive finish or are uncertain about paper and color. It is less useful when you have already seen the same stock and the only remaining changes are straightforward wording corrections.
Treat the envelope as part of the design and mailing plan
An envelope is not just packaging. Its dimensions, construction, contents, and closures affect the finished mailpiece. Before ordering the full quantity, place every planned component inside one envelope, including the liner, cards, band, seal, or other embellishment.
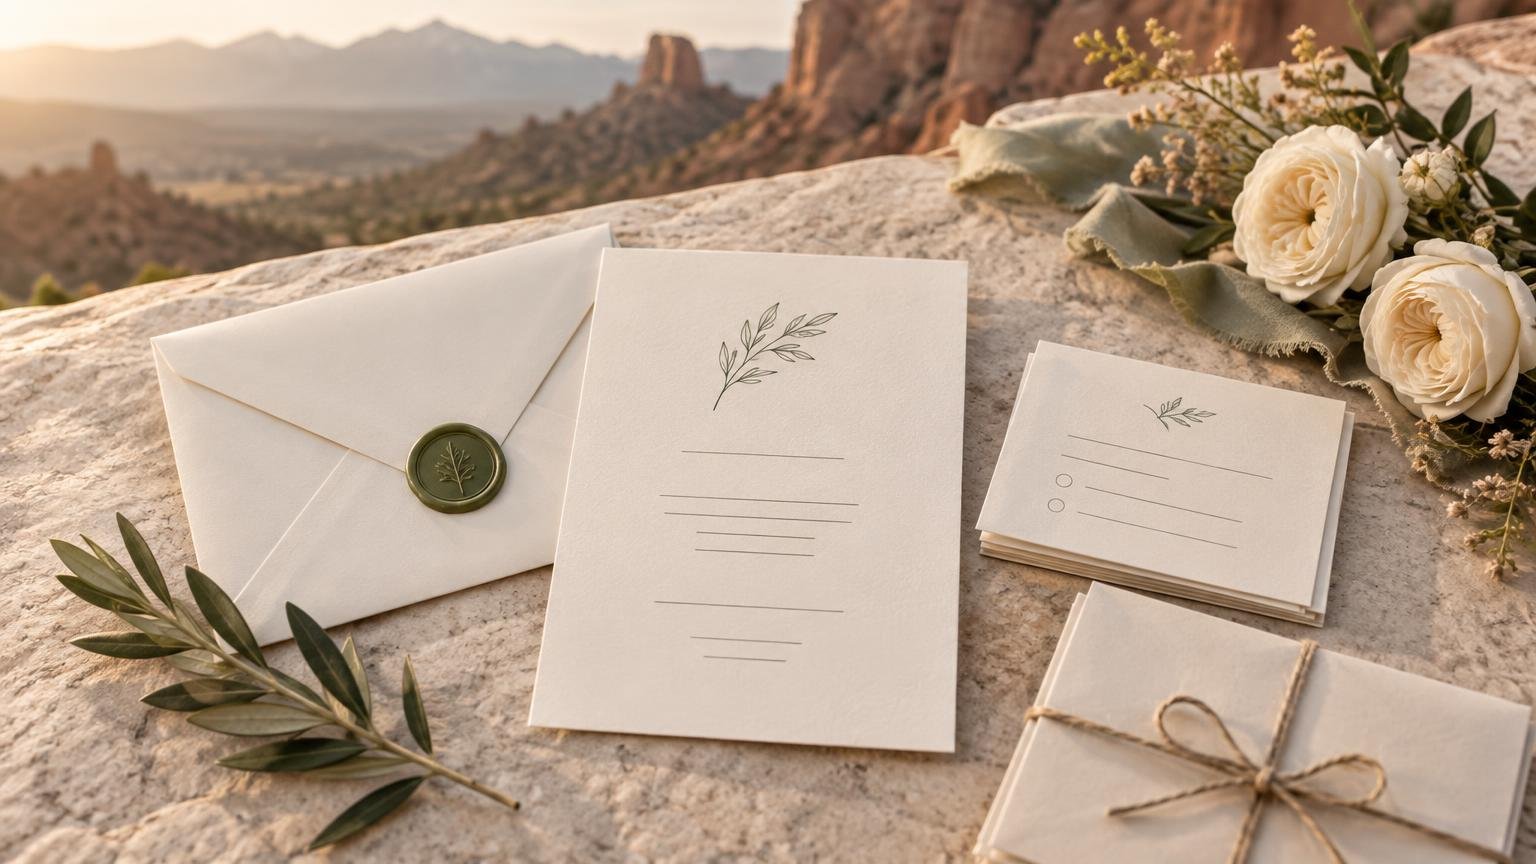
Exterior wax seals, clasps, knots, ribbon, thick layered pieces, and bulky decorations deserve particular scrutiny because they may create rigidity or uneven thickness. USPS identifies shape, flexibility, thickness, and uniformity among the characteristics that can affect machinability. The outcome depends on the completed piece, so avoid assuming that any embellishment is always safe or always subject to the same surcharge.
If a decorative element matters, consider whether it can move inside the envelope or appear elsewhere. A printed seal illustration, restrained liner, colored envelope, or small design motif may provide the visual effect without creating a bulky exterior closure.
Order the right quantity and prevent reprints
Finalize the address list as much as possible before ordering. Then add a reserve based on your actual circumstances rather than an arbitrary percentage. Consider how settled the guest list is, whether parents may add names later, how many keepsakes you want, the likelihood of addressing mistakes, and whether a small reorder would be costly or inconvenient.
Proofing is one of the least glamorous but most effective cost controls. Review the invitation slowly and separately for content, layout, and production details. Ask another person to perform an independent check rather than telling them what you expect to see.
- Confirm names, date, day of the week, time, and venue address
- Verify ceremony, reception, and open-house distinctions
- Test the RSVP link, QR code, email address, or phone number
- Check reply deadlines and hotel cut-off dates
- Confirm that small text remains readable at final printed size
- Review guest and return addresses from the exported address file
- Make sure every insert fits the selected envelope
- Approve the final proof only after reviewing the latest version
Late wording changes can be frustrating, but printing an incorrect date or address is usually worse. Build proofing time into the schedule so approval does not happen under deadline pressure.
Weigh one finished suite before buying postage
There is no single wedding-invitation stamp that works for every suite. Postage depends on the completed envelope’s weight and physical characteristics. Assemble a representative invitation exactly as it will be mailed, seal it, and then measure and weigh it.
Check the current USPS requirements only after that test. If the piece is square, rigid, unusually thick, or uneven, ask USPS to evaluate the finished sample rather than relying solely on its weight. Postal prices change, so purchase postage using the rates in effect when the invitations will enter the mail.
Do this test before approving a full production run whenever possible. Discovering a mailing problem while you can still change an envelope, remove an insert, or relocate an embellishment gives you more options than discovering it after hundreds of suites have been assembled.
Decide whether DIY printing really costs less
Home printing can save money for a simple design, manageable quantity, compatible printer, and flexible schedule. But the calculation should include more than paper and ink. Test sheets, trimming tools, replacement cartridges, misprints, alignment problems, envelope feeding, and your time all belong in the comparison.
PrintInvitations notes that home projects require attention to printer and paper compatibility, test sheets, alignment, and production limits. It presents professional production as potentially better suited to specialty work, higher quantities, complex projects, or firm deadlines. That is a provider’s guidance rather than a universal verdict, but the cost categories are useful for evaluating a DIY plan.
DIY is most convincing when you already own suitable equipment and the design uses a standard stock with minimal finishing. Outsourcing becomes more practical when you need reliable color, heavy paper your printer cannot feed, precise trimming, specialty processes, or a large quantity. If outsourcing fits the project, compare paper, proofing, envelopes, turnaround, and total delivered cost when selecting professional wedding invitation printing, not just the headline price.
A simple cost-saving decision order
Make the expensive structural decisions before debating decorative details. Work through the project in this order:
- Count mailing households and identify groups receiving different event information.
- Choose a standard rectangular envelope and design the card to fit it.
- Decide which information belongs on the main card and which can move online.
- Select the paper and one visual upgrade, if desired.
- Build and evaluate a complete sample suite.
- Proof every detail and test all response methods.
- Confirm the final quantity and reserve.
- Measure and weigh the assembled envelope, then verify current postage.
Spend where the invitation makes its strongest impression
The best savings usually come from simplifying the structure: fewer mailed households than total guests, fewer cards, a rectangular format, restrained finishing, and accurate ordering. Those choices reduce costs without requiring a flimsy card or a generic design.
Start with a clear invitation on paper that suits the design, then choose one detail that makes it feel personal. Before placing the full order, proof the wording and build a complete mailing sample. That process protects both the appearance of the invitation and the part of the budget most likely to be overlooked: getting the finished suite safely into the mail.